Mastering the Art of Drywall Installation: A Step-by-Step Guide
Are you ready to take your home improvement skills to the next level? Dive into our comprehensive guide on mastering the art of drywall installation! Whether you're a seasoned DIY enthusiast or a beginner looking to learn new skills, this step-by-step guide will walk you through everything you need to know to achieve professional-quality results in your next project. From selecting the right drywall materials to applying flawless finishing touches, we'll cover each essential step in detail. By the end of this article, you'll have the knowledge and confidence to tackle any drywall installation with precision and finesse. Get ready to transform your space and showcase your craftsmanship with expert tips and techniques that will elevate your home improvement game. Let's get started!
Choosing the Right Drywall Materials for Your Project
When it comes to mastering the art of drywall installation, one of the critical aspects to consider is choosing the right materials for your project. The type of drywall materials you select will have a significant impact on the final outcome of your installation, including its longevity and aesthetic appeal. Begin by assessing the needs of your project. If you are working on a high-moisture area such as a bathroom or kitchen, it is essential to choose moisture-resistant drywall to prevent mold and mildew growth. On the other hand, for standard interior walls, regular drywall sheets may suffice. Next, consider the size and thickness of the drywall sheets. Thicker drywall sheets offer better soundproofing and fire resistance, making them ideal for shared walls between rooms. However, for simpler projects where these features are not a priority, standard thickness drywall will work just fine. Another crucial factor to keep in mind is the core material of the drywall. The most common options are paper-faced gypsum and fiberglass-faced gypsum. While paper-faced gypsum is the traditional choice and suitable for most projects, fiberglass-faced gypsum is more resistant to mold and moisture, making it perfect for areas prone to dampness. Lastly, don't overlook the finishing materials such as joint compound and tape. Investing in high-quality joint compound and tape will ensure smooth and seamless transitions between drywall sheets, giving your walls a polished and professional look. By carefully selecting the right drywall materials for your project, you set a solid foundation for a successful installation that will stand the test of time
Preparing Your Space for Seamless Drywall Installation
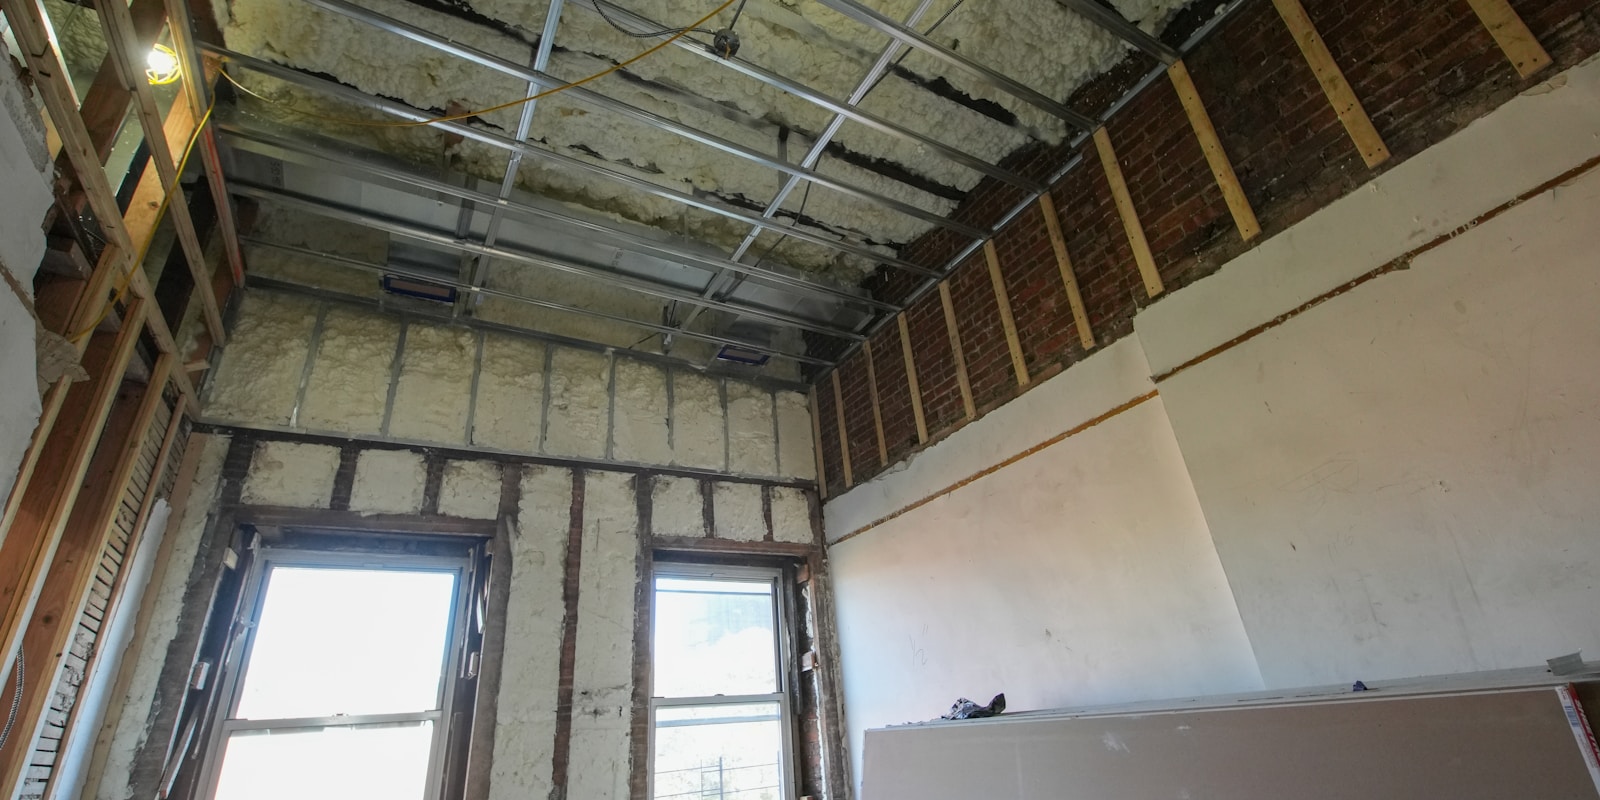
Before diving into the process of drywall installation, it is crucial to adequately prepare your space to ensure a seamless and successful outcome. Proper preparation can make a significant difference in the overall quality of your drywall installation project. Here are essential steps to take to get your space ready: 1. Clear the Area: Start by removing any furniture, fixtures, or decor from the room where you will be working. Clearing the space will provide you with ample room to move around and work efficiently. Cover the floors with drop cloths or plastic sheeting to protect them from dust and debris. 2. Inspect the Walls: Take the time to inspect the walls where the drywall will be installed. Look for any signs of moisture, mold, or damage that may need to be addressed before proceeding with the installation. Make necessary repairs to ensure a smooth surface for the new drywall. 3. Gather Materials and Tools: Ensure that you have all the necessary materials and tools on hand before starting the installation process. This includes drywall panels, joint compound, tape, screws, a saw, a utility knife, a tape measure, and a drill. Having everything ready will help streamline the installation process. 4. Measure and Cut the Drywall: Measure the dimensions of the walls where the drywall will be installed and carefully cut the drywall panels to fit. Use a utility knife and a straight edge to make precise cuts. Remember to account for any openings for doors, windows, or electrical outlets. 5. Install the Drywall: Begin by attaching the drywall panels to the wall studs using drywall screws. Make sure to leave a small gap between the panels to allow for expansion. Secure the panels in place and use joint compound and tape to finish the seams and corners. Sand the joints smooth for a seamless finish. 6. Finish and Paint: Once the drywall installation is complete, apply a primer coat to the walls before painting. This will help the paint adhere better and provide a smooth, professional finish. Choose a high-quality paint to achieve the desired look for your space. By following these steps and properly preparing your space for drywall installation, you can ensure a seamless and successful outcome. Taking the time to prepare adequately will not only make the installation process easier but also result in a high-quality finish that will enhance the overall appearance of your space
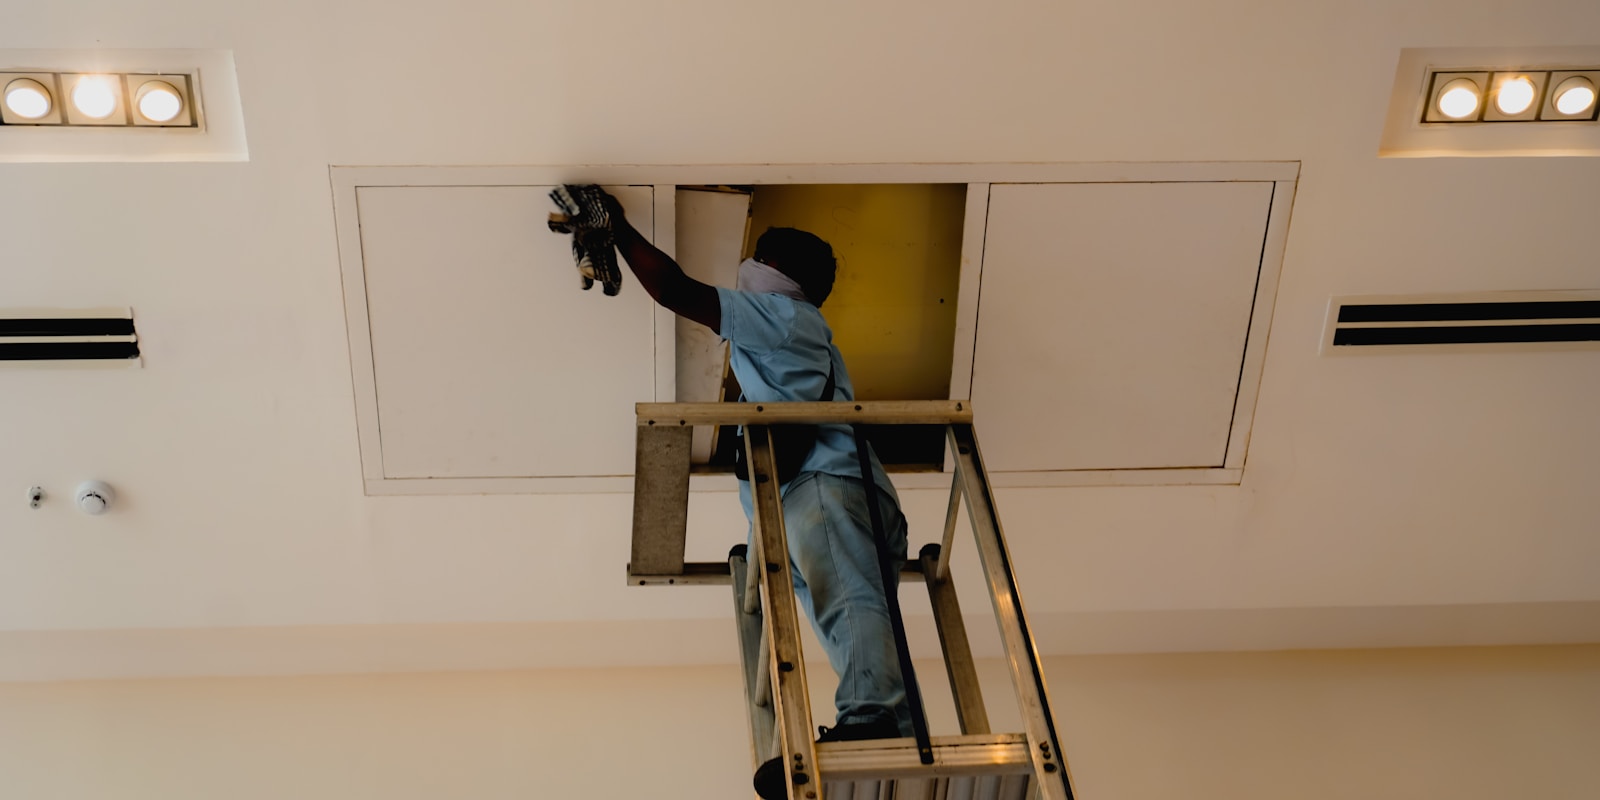
Mastering the Techniques of Cutting and Hanging Drywall Sheets
Setting up drywall in your home is a fundamental step when it comes to renovating or constructing a space. Mastering the art of cutting and hanging drywall sheets is crucial for achieving a flawless finish. In this detailed guide, we will walk you through the essential techniques and steps involved in this process. **Preparation:** - Measure twice, cut once: Before getting started, measure the area where the drywall will be installed accurately. Use a pencil to mark the measurements on the drywall sheets. - Cutting the drywall: For cutting drywall sheets, you can use a utility knife or a drywall saw. Score the front side of the drywall sheet and then snap it along the scored line to cut it to the required size. - Hanging the drywall: Start by positioning the drywall sheet against the wall or ceiling, ensuring it fits snugly. Use drywall screws to secure the sheet in place, placing them about every 12 inches along the studs. **Techniques for Cutting Drywall:** - Straight cuts: When making straight cuts, use a T-square to ensure the lines are perpendicular. Score the drywall lightly first, and then increase the pressure for a clean cut. - Curved cuts: For curved cuts, a keyhole saw or jab saw works best. Take your time and follow the marked line carefully for a smooth curve. - Cutouts for outlets and fixtures: Measure and mark the outline of the fixture on the drywall sheet. Use a drywall saw to carefully cut along the lines for a perfect fit. **Techniques for Hanging Drywall:** - Positioning the drywall: Hold the drywall sheet in place, ensuring it aligns perfectly with the adjacent sheets. Use a drywall lift to support the weight of the drywall when installing on ceilings. - Screwing the drywall: Drive drywall screws into the studs, making sure they sink slightly below the surface without breaking the paper layer. Avoid over-tightening the screws to prevent damaging the drywall. By mastering these cutting and hanging techniques, you'll be able to achieve professional-looking results in your drywall installation projects. Practice patience and precision to elevate your skills in handling this essential part of home improvement
Taping, Mudding, and Sanding: Achieving Flawless Drywall Finishes
Taping, mudding, and sanding are crucial steps in achieving flawless drywall finishes. These three processes are fundamental to the art of drywall installation and are often considered the most labor-intensive part of the job. However, with the right techniques and tools, you can master these steps and achieve professional results. **Preparation** Before you begin taping, mudding, and sanding, ensure that your drywall panels are properly installed and secured. Any gaps between panels should be filled, and the screws or nails should be sunk slightly below the surface. This will create a smooth base for the taping and mudding process. **Taping** Taping is the first step in creating seamless joints between drywall panels. Start by applying a thin layer of joint compound along the seams using a taping knife. Then, embed drywall tape into the compound and smooth out any wrinkles or air bubbles. Allow the tape to dry completely before proceeding to the next step. **Mudding** Mudding involves applying multiple layers of joint compound over the taped seams to blend them seamlessly with the rest of the wall. Begin with a thin coat of mud over the tape, extending it beyond the edges to feather out the transition. For subsequent coats, use wider knives to create a gradual build-up and ensure a smooth finish. Sand lightly between coats to remove any imperfections and achieve a uniform surface. **Sanding** Sanding is the final step in achieving flawless drywall finishes. Use a sanding sponge or sanding pole to smoothen the dried mud, feather the edges, and eliminate any bumps or ridges. Be cautious not to sand too aggressively, as this can damage the surface and require additional mudding and sanding to fix. Once you have achieved a level and smooth surface, wipe down the walls to remove any dust before painting or applying texture. By mastering the art of taping, mudding, and sanding, you can achieve flawless drywall finishes that will enhance the appearance of any room. Practice these techniques with patience and precision, and soon you'll be able to tackle drywall installations with confidence and skill
Expert Tips for Painting and Adding the Final Touches to Your Drywall Installation
Once your drywall installation is complete, the next crucial steps involve painting and adding the final touches to achieve a flawless finish. Here are some expert tips to guide you through this process seamlessly: 1. **Prepare the Surface**: Before you start painting, ensure the drywall surface is clean and smooth. Sand down any imperfections and wipe off any dust or debris. This step is essential for achieving a professional-looking paint job. 2. **Primers are Key**: Applying a primer before painting is crucial as it helps the paint adhere better to the drywall and provides a more uniform finish. Opt for a high-quality primer specifically designed for drywall surfaces. 3. **Choose the Right Paint**: Pick a paint finish that suits the area you’ve installed the drywall in. For high-traffic areas like hallways or kitchens, opt for a durable paint that can withstand frequent cleaning. Matte finishes are great for hiding imperfections, while semi-gloss works well in areas prone to moisture. 4. **Use the Right Tools**: Invest in high-quality paint brushes, rollers, and painter's tape to ensure clean lines and a smooth finish. Proper tools can make a significant difference in the final outcome of your painting job. 5. **Apply Paint Strategically**: Start by cutting in the edges and corners with a brush before using a roller for the larger areas. Work in small sections and maintain a wet edge to avoid visible lap marks. Multiple thin coats are better than one thick coat for a professional look. 6. **Add Texture or Trim**: If you want to enhance the visual appeal of your drywall, consider adding texture or trim. Texturing can help disguise imperfections, while adding crown molding or baseboards can provide a polished look to your walls. 7. **Final Touches**: Once the paint is dry, inspect the walls for any touch-ups needed. Reinstall outlet covers and switch plates, and consider adding a fresh coat of paint to any trim for a cohesive look. By following these expert tips for painting and adding the final touches to your drywall installation, you can elevate the appearance of your space and showcase a professional finish that you can be proud of
Conclusion
In conclusion, mastering the art of drywall installation requires attention to detail and a systematic approach to achieve professional-quality results. From selecting the right materials to precise installation techniques and flawless finishing touches, this comprehensive guide has covered all the essential steps involved in the process. Key takeaways include understanding the different types of drywall, preparing the workspace, measuring and cutting accurately, securing the drywall properly, taping and mudding for seamless joints, and finishing with sanding and priming for a polished look. By following these step-by-step instructions and expert tips, you'll be well-equipped to tackle any drywall installation project with confidence and finesse. Remember, practice makes perfect, so don't be afraid to hone your skills and refine your techniques. With this newfound knowledge, you can elevate your home improvement game and transform your space with professional-grade results. Happy installing!